
")
These irresistible Homemade Crunch Bars capture all the nostalgic flavor and satisfying texture of your favorite chocolate candy bar, but with just 5 simple ingredients and 5 minutes of prep time. The perfect balance of crispy, crunchy cereal and smooth, rich chocolate creates an indulgent treat that’s incredibly easy to make at home. Whether you’re looking for a quick dessert fix, a homemade gift, or a kid-friendly kitchen project, these no-bake chocolate crunch bars are guaranteed to become a go-to recipe in your collection.
Why You’ll Love This Recipe
- Just 5 ingredients: Uses simple pantry staples you likely already have
- No baking required: Zero oven time means this treat works year-round
- Quick prep: Only 5 minutes of active preparation time
- Kid-friendly: Easy enough for children to help make
- Customizable: Can be adapted with various mix-ins and toppings
- Make-ahead friendly: Perfect for preparing in advance for parties or gifts
Ingredients
Core Ingredients
- Chocolate chips – Provide the rich chocolate base and coating
- Rice cereal – Creates the signature crunch and texture
- Peanut butter – Adds creamy richness and helps bind the bars
- Honey or maple syrup – Natural sweetener that helps hold everything together
- Vanilla extract – Enhances the chocolate flavor with aromatic depth
Optional Add-ins
- Sea salt – Balances the sweetness and enhances all flavors
- Coconut oil – Creates a smoother chocolate texture when melted
- Chopped nuts – Add extra crunch and nutty flavor
- Mini marshmallows – Create pockets of softness amidst the crunch
Step-by-Step Instructions
Preparing the Base Mixture
Begin by lining an 8×8-inch baking pan with parchment paper, leaving an overhang on all sides to easily lift out the finished bars later. This simple step saves tremendous frustration when it’s time to remove and cut your crunch bars.
In a large microwave-safe bowl, combine 1½ cups of semi-sweet chocolate chips and ½ cup of creamy peanut butter. The peanut butter not only adds flavor but also creates a smoother chocolate texture and helps bind the cereal. For those with peanut allergies, other nut butters like almond or cashew butter work well, or sunflower seed butter for a nut-free option.
Microwave the chocolate and peanut butter in 30-second intervals, stirring well between each interval, until completely melted and smooth. This typically takes about 1-1½ minutes total. Be careful not to overheat, as chocolate can seize and become grainy if it gets too hot. Alternatively, you can melt this mixture in a double boiler on the stovetop for more control over the temperature.
Once melted, stir in 2 tablespoons of honey (or maple syrup for a vegan option) and 1 teaspoon of vanilla extract. The honey adds subtle sweetness and creates a texture that helps the bars hold together, while the vanilla enhances the chocolate flavor with warm, aromatic notes. If you prefer a slightly less sweet bar, the honey can be reduced to 1 tablespoon.
Adding the Crunch
Now for the star ingredient that gives these bars their signature texture! Add 3 cups of crispy rice cereal to the chocolate mixture. Using a rubber spatula, gently fold the cereal into the chocolate until every piece is completely coated. The key is to be thorough but gentle – you want to preserve the crunch of the cereal rather than crushing it into the chocolate.
For an extra dimension of flavor, this is the point where you could add optional mix-ins. A handful of chopped nuts, mini marshmallows, shredded coconut, or even a sprinkle of sea salt can add interesting flavor contrasts and textures. However, the beauty of this basic recipe is its perfect simplicity, so don’t feel the bars need any additions to be delicious.
Forming and Setting the Bars
Transfer the chocolate-cereal mixture into your prepared pan, spreading it evenly with the spatula. For the neatest bars, press down firmly to create a compact, even layer. The back of a measuring cup works wonderfully for this purpose, creating a smooth, level surface. If the mixture sticks to your tools, lightly coating them with cooking spray helps tremendously.
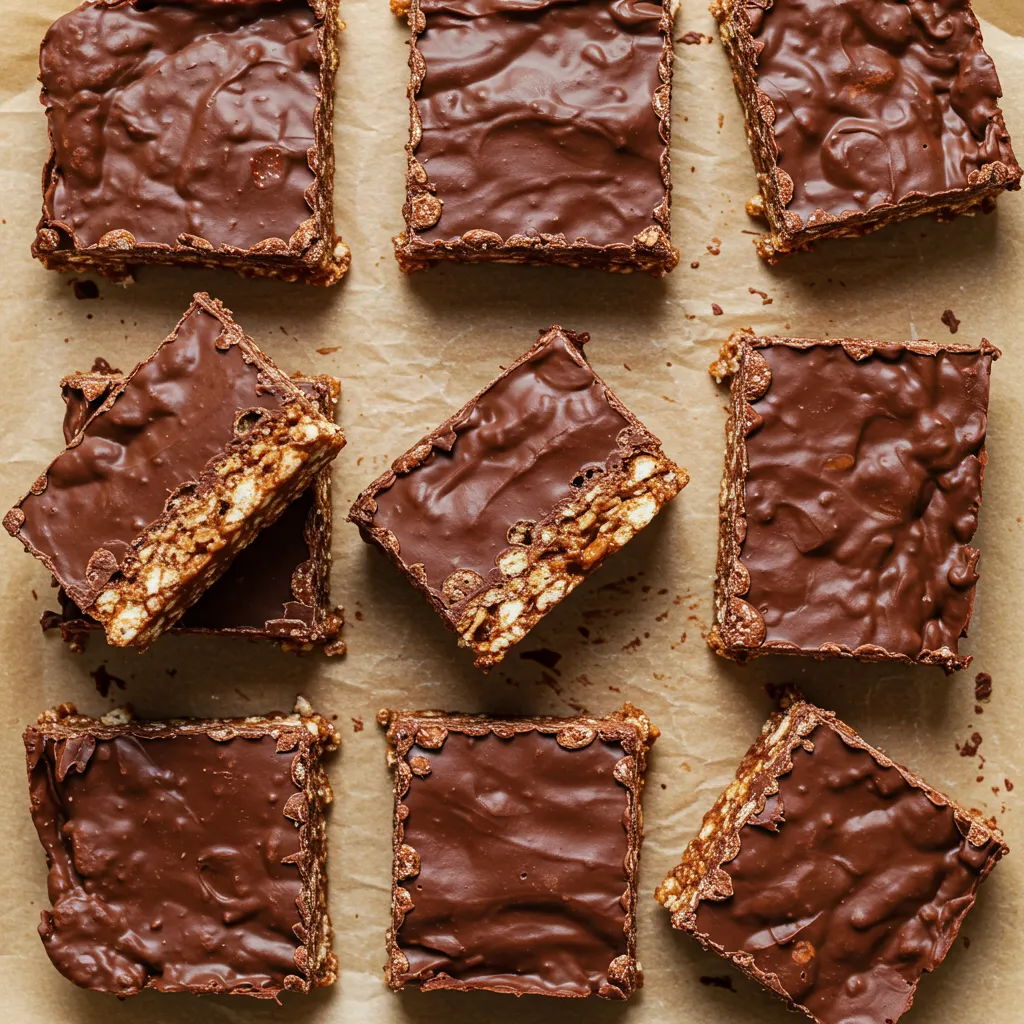
For a classic crunch bar appearance similar to the image, you can melt an additional ¼ cup of chocolate chips and spread this thin layer over the top of the pressed mixture. This creates that distinctive smooth chocolate top layer that contrasts beautifully with the crunchy interior.
Place the pan in the refrigerator to set for at least 1 hour, or in the freezer for about 30 minutes if you’re in a hurry. The bars need this chilling time to firm up properly so they can be cut cleanly without falling apart. Patience here makes a big difference in the final presentation.
Cutting and Serving
Once the crunch bars have completely set, use the parchment paper overhang to lift the entire block out of the pan and onto a cutting board. With a sharp knife, cut into squares or rectangles of your desired size. For clean cuts, run your knife under hot water and wipe it dry between slices.
For gift-giving or special presentations, you can wrap individual bars in parchment paper or candy wrappers. They look particularly charming tied with a simple string or ribbon, making them perfect for bake sales, holiday gifts, or party favors.
These bars can be served straight from the refrigerator for a firmer texture, or allowed to sit at room temperature for 5-10 minutes before serving for a slightly softer bite. The chocolate will be more stable when cool, making these ideal for packing in lunches or taking on picnics.
Pro Tips
- Use high-quality chocolate chips for the best flavor
- Keep rice cereal fresh and crispy by storing in an airtight container
- For sharper edges, freeze bars for 15 minutes before cutting
- Line the pan with parchment for easy removal and cleanup
- Use a hot knife (run under hot water and wiped dry) for clean cuts
Storage and Make-Ahead Advice
One of the beauties of these Homemade Crunch Bars is their excellent keeping quality, making them perfect for advance preparation. Once cut, store the bars in an airtight container with parchment paper between layers to prevent sticking. They will keep at room temperature for 3-4 days, though the cereal may gradually lose some of its crispness due to humidity.
For longer storage and optimal texture retention, refrigerate the bars for up to 2 weeks. The chilled environment helps maintain both the chocolate’s integrity and the cereal’s crunch. Allow them to sit at room temperature for 5-10 minutes before serving if you prefer a softer texture.
These bars also freeze beautifully for up to 3 months. Wrap individual pieces tightly in plastic wrap, then place in a freezer-safe container or bag. Thaw in the refrigerator overnight or at room temperature for about 30 minutes before enjoying. This make-ahead capability makes them excellent for batch preparation for school lunches, unexpected guests, or your own late-night chocolate cravings.
For gifting purposes, these crunch bars can be made up to a week in advance and stored in the refrigerator until needed. Place them in decorative boxes with parchment paper between layers for an impressive homemade treat that looks like it came from a gourmet chocolate shop.
Variations and Creative Ideas
The basic Homemade Crunch Bar recipe provides a perfect canvas for creative variations to suit different preferences or occasions:
Flavor Variations
Peanut Butter Lover’s: Double the peanut butter to 1 cup and sprinkle the top with chopped peanuts before chilling for an intensified peanut butter experience.
Mint Chocolate: Add ¼ teaspoon of peppermint extract to the chocolate mixture and use Andes mint chips in place of some of the chocolate chips for a refreshing twist.
Salted Caramel: Drizzle caramel sauce through the mixture before chilling and sprinkle the top with flaky sea salt for a sophisticated sweet-salty combination.
S’mores Crunch: Fold mini marshmallows and small graham cracker pieces into the mixture for a campfire-inspired treat.
White Chocolate Cranberry: Substitute white chocolate chips for the semi-sweet and add dried cranberries for a festive holiday variation with beautiful color contrast.
Seasonal Adaptations
These crunch bars can easily be customized for holidays and special occasions:
Halloween: Add orange food coloring to white chocolate for the top layer and sprinkle with black and orange sprinkles or candies.
Christmas: Add crushed peppermint candies to the mixture and use red and green sprinkles for a festive holiday treat.
Valentine’s Day: Shape into hearts instead of bars and drizzle with pink-tinted white chocolate.
Easter: Press mini chocolate eggs into the top before the chocolate sets completely.
Dietary Adaptations
With minor adjustments, these bars can accommodate various dietary needs:
Vegan: Use dairy-free chocolate chips, ensure your cereal is vegan, and choose maple syrup instead of honey.
Gluten-Free: Verify that your crispy rice cereal is certified gluten-free (many mainstream brands are not).
Nut-Free: Substitute sunflower seed butter or cookie butter for the peanut butter.
Lower Sugar: Use dark chocolate chips (70% cacao or higher) and reduce the honey to 1 tablespoon.
The Science Behind the Perfect Texture
What makes these Homemade Crunch Bars so satisfying is the interplay of textures – the crisp, airy cereal suspended in smooth, rich chocolate. Understanding the science behind this helps ensure perfect results every time.
The key to maintaining the cereal’s crunch lies in the fat content of the chocolate and peanut butter coating. This fat surrounds each piece of cereal, creating a moisture barrier that helps prevent the cereal from absorbing humidity and becoming soggy. This is why using the right ratio of chocolate and peanut butter to cereal is crucial – too much coating and the bars become too dense and fudgy; too little and they won’t hold together.
The honey or maple syrup plays a dual role: sweetening the mixture and providing the right viscosity to bind everything together. These liquid sweeteners contain invert sugars that remain slightly softer at room temperature than granulated sugar would, giving the bars their signature texture that’s firm enough to hold its shape but yielding enough to bite through easily.
Chilling the bars properly allows the cocoa butter in the chocolate to crystalize in a stable form. This crystallization is what gives properly tempered chocolate its characteristic snap and smooth mouthfeel. By allowing adequate time for this process, you ensure that your bars have a professional quality texture and appearance.
Frequently Asked Questions
Can I use any type of crispy rice cereal? Yes, any brand of crispy rice cereal works well. For a more health-conscious option, you can use brown rice crispy cereal found in natural food stores.
My bars are too soft and don’t hold their shape. What went wrong? The bars likely need more time to chill, or your ratio of chocolate to cereal may be too high. Try adding a bit more cereal next time or ensure they’re fully set in the refrigerator before cutting.
Can I use natural peanut butter? Yes, though the oil separation in natural peanut butter can sometimes affect the texture. Make sure it’s well-stirred before measuring, and your bars may benefit from a little extra time in the refrigerator to set properly.
How can I make these bars less sweet? Use dark chocolate chips instead of semi-sweet, reduce the honey to 1 tablespoon, or use a natural peanut butter without added sugar.
Why did my chocolate seize and become grainy? Chocolate typically seizes when it comes into contact with even small amounts of water or if it’s overheated. Make sure all utensils and bowls are completely dry, and melt the chocolate gently, in short intervals, stirring frequently.
")
Ingredients
- 1½ cups semi-sweet chocolate chips
- ½ cup creamy peanut butter
- 2 tablespoons honey or maple syrup
- 1 teaspoon vanilla extract
- 3 cups crispy rice cereal
- ¼ cup additional chocolate chips for topping (optional)
- Pinch of salt (optional)
Instructions
- Line an 8x8-inch baking pan with parchment paper, leaving overhang on the sides for easy removal.
- In a large microwave-safe bowl, combine chocolate chips and peanut butter. Microwave in 30-second intervals, stirring between each, until completely melted and smooth (about 1-1½ minutes total).
- Stir in honey (or maple syrup) and vanilla extract until well combined.
- Add crispy rice cereal and gently fold until all cereal is evenly coated with the chocolate mixture.
- Transfer the mixture to the prepared pan, pressing down firmly to create an even layer.
- If desired, melt the additional ¼ cup chocolate chips and spread over the top for a smooth chocolate layer.
- Refrigerate for at least 1 hour, or until completely set.
- Using the parchment paper overhang, lift the set mixture out of the pan and onto a cutting board. Cut into 16 bars or squares.
- Store in an airtight container in the refrigerator for up to 2 weeks.
Notes
- For extra crunch, lightly toast the rice cereal in the oven before adding it to the chocolate mixture
- Use a measuring cup with a flat bottom to press the mixture evenly into the pan
- For a cleaner cut, freeze the bars for 15 minutes before slicing
- Add a sprinkle of flaky sea salt on top before setting for a delicious sweet-salt contrast
- These bars make wonderful gifts when wrapped individually in parchment or wax paper