
")
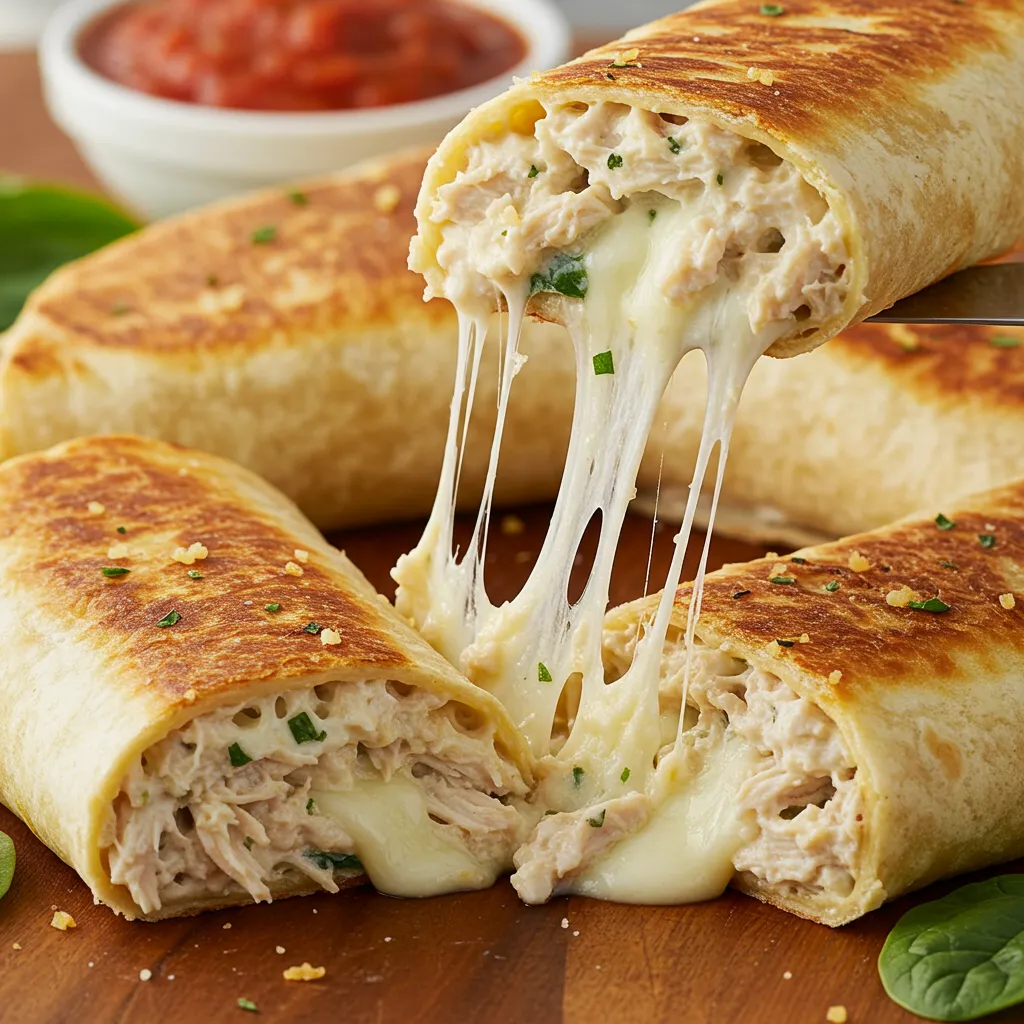
These Cheesy Garlic Chicken Wraps are the perfect blend of comfort and convenience. Imagine biting into a warm, golden-brown tortilla that gives way to a creamy, garlicky filling where tender shredded chicken mingles with melted mozzarella and velvety cream cheese. The crispy exterior contrasts beautifully with the rich, indulgent filling, creating an irresistible texture combination that will have everyone asking for seconds.
Quick Info
- Servings: 4 wraps
- Prep Time: 15 minutes
- Cooking Time: 10 minutes
- Calories: 410 per wrap
- Fat: 19g per serving
- Cuisine: Italian-American Fusion
The History Behind Chicken Wraps
The concept of wrapping food in flatbread has ancient roots spanning many cultures, from Mexican burritos to Middle Eastern shawarma and Greek gyros. The modern “wrap” as we know it today gained mainstream popularity in the United States during the 1990s, when health-conscious diners began seeking alternatives to sandwich bread.
The Cheesy Garlic Chicken Wrap represents a delicious fusion that combines the convenience of a handheld wrap with Italian-inspired flavors. The combination of chicken, garlic, and Italian herbs wrapped in a tortilla showcases the beautiful culinary melding that happens when different food traditions come together.
This particular recipe has become a staple in home cooking over the past decade, popularized through food blogs and social media for its versatility and appeal to both adults and children. It represents the kind of practical yet delicious innovation that characterizes modern home cooking—taking familiar ingredients and transforming them into something special without requiring exotic ingredients or elaborate techniques.
Why You’ll Love This Recipe
- Quick Weeknight Solution – Ready in under 30 minutes, these wraps are perfect for busy evenings when you need a satisfying meal without extensive cooking time.
- Customizable for Everyone – Family members can personalize their wraps with additional ingredients like different vegetables or heat levels to suit individual preferences.
- Great for Meal Prep – The filling can be made ahead of time, making assembly quick and easy when you’re ready to eat.
- Budget-Friendly – Utilizes leftover chicken and basic pantry staples, making this an economical choice that tastes like a restaurant treat.
- Kid-Approved – The creamy, cheesy filling and crispy exterior appeal to younger palates while still satisfying adult tastes.
- Balanced One-Handed Meal – Contains protein, dairy, and vegetables in a portable format, perfect for casual dining or on-the-go meals.
- Versatile Serving Options – Works equally well as a main dish with a side salad or as hearty appetizers when cut into smaller portions.
Ingredients
For the Filling:
- 2 cups cooked chicken (shredded or diced)
- 1 cup shredded mozzarella cheese
- 1/2 cup cream cheese (softened)
- 2 cloves garlic (minced)
- 1 tsp Italian seasoning
- Salt and pepper to taste
For Assembly:
- 4 large flour tortillas
- 1 cup fresh spinach or lettuce (optional)
- Olive oil (for cooking)
Optional Add-ins:
- 1/4 cup diced red bell pepper
- 2 tablespoons finely chopped sun-dried tomatoes
- 2 tablespoons chopped fresh basil
- 1/4 cup grated Parmesan cheese
- Red pepper flakes (for heat)
Instructions
Prepare the Filling:
- In a large bowl, combine the shredded chicken, mozzarella cheese, softened cream cheese, minced garlic, Italian seasoning, salt, and pepper.
- Mix thoroughly until all ingredients are well incorporated and the mixture has a cohesive, creamy texture.
- Taste and adjust seasoning if necessary.
Assemble the Wraps:
- Lay a flour tortilla flat on a clean work surface.
- Place a generous amount of the chicken mixture in the center (about 1/2 cup), spreading it into an oval shape but leaving at least 2 inches of space around the edges.
- Add fresh spinach or lettuce on top of the chicken mixture if desired.
- To fold: Bring in the sides of the tortilla toward the center, then fold the bottom edge up and over the filling. Continue rolling tightly until completely closed.
- Repeat with remaining tortillas and filling.
Cook the Wraps:
- Heat a bit of olive oil in a large skillet over medium heat.
- Place the wraps seam-side down on the skillet and cook for 2-3 minutes until golden and crispy.
- Carefully flip and cook the other side for another 2-3 minutes until evenly browned and the cheese inside has melted.
- If cooking multiple wraps, you may need to work in batches. Keep cooked wraps warm in a low oven (200°F) while finishing the others.
Serve:
- Allow the wraps to cool slightly for 1-2 minutes before cutting in half diagonally.
- Serve immediately while the exterior is crispy and the filling is warm and gooey.
- Pair with a side of marinara sauce for dipping, if desired.
Recipe Notes
- Chicken Options: This recipe is ideal for using leftover rotisserie chicken or meal-prepped chicken breast. For a time-saving shortcut, you can use canned chicken, though the texture won’t be quite as good as freshly cooked.
- Tortilla Selection: Large burrito-size flour tortillas work best as they’re sturdy enough to hold the filling without tearing. For a healthier option, whole wheat or spinach tortillas can be substituted.
- Make It Ahead: The chicken and cheese mixture can be prepared up to 2 days in advance and stored in the refrigerator. Bring it to room temperature for about 15 minutes before assembling the wraps for easier spreading.
- Vegetarian Adaptation: Replace the chicken with 2 cups of sautéed mushrooms, chopped artichoke hearts, or plant-based chicken substitute for a vegetarian version.
- Crispier Texture: For an even crispier exterior, lightly brush the outside of the wrap with olive oil or melted butter before cooking.
- Serving Suggestions: These wraps pair perfectly with a simple green salad, tomato soup, or sweet potato fries for a complete meal.
- Freezing Instructions: Assembled (but uncooked) wraps can be frozen for up to 3 months. Wrap individually in parchment paper, then foil, and place in a freezer bag. Thaw in the refrigerator overnight before cooking.
- Air Fryer Method: These wraps can also be cooked in an air fryer at 375°F for 5-7 minutes, flipping halfway through, for an even crispier result with less oil.
These Cheesy Garlic Chicken Wraps transform simple ingredients into a crave-worthy meal that’s sure to become a regular in your recipe rotation. The combination of creamy, garlicky chicken filling and the crispy, golden-brown exterior creates a textural and flavor experience that’s both comforting and exciting. Whether served as a quick lunch, easy dinner, or cut into smaller pieces for game day appetizers, these wraps are guaranteed to disappear quickly!
")
Ingredients
For the Filling:
- 2 cups cooked chicken (shredded or diced)
- 1 cup shredded mozzarella cheese
- 1/2 cup cream cheese (softened)
- 2 cloves garlic (minced)
- 1 tsp Italian seasoning
- Salt and pepper to taste
For Assembly:
- 4 large flour tortillas
- 1 cup fresh spinach or lettuce (optional)
- Olive oil (for cooking)
Optional Add-ins:
- 1/4 cup diced red bell pepper
- 2 tablespoons finely chopped sun-dried tomatoes
- 2 tablespoons chopped fresh basil
- 1/4 cup grated Parmesan cheese
- Red pepper flakes (for heat)
Instructions
Prepare the Filling:
- In a large bowl, combine the shredded chicken, mozzarella cheese, softened cream cheese, minced garlic, Italian seasoning, salt, and pepper.
- Mix thoroughly until all ingredients are well incorporated and the mixture has a cohesive, creamy texture.
- Taste and adjust seasoning if necessary.
Assemble the Wraps:
- Lay a flour tortilla flat on a clean work surface.
- Place a generous amount of the chicken mixture in the center (about 1/2 cup), spreading it into an oval shape but leaving at least 2 inches of space around the edges.
- Add fresh spinach or lettuce on top of the chicken mixture if desired.
- To fold: Bring in the sides of the tortilla toward the center, then fold the bottom edge up and over the filling. Continue rolling tightly until completely closed.
- Repeat with remaining tortillas and filling.
Cook the Wraps:
- Heat a bit of olive oil in a large skillet over medium heat.
- Place the wraps seam-side down on the skillet and cook for 2-3 minutes until golden and crispy.
- Carefully flip and cook the other side for another 2-3 minutes until evenly browned and the cheese inside has melted.
- If cooking multiple wraps, you may need to work in batches. Keep cooked wraps warm in a low oven (200°F) while finishing the others.
Serve:
- Allow the wraps to cool slightly for 1-2 minutes before cutting in half diagonally.
- Serve immediately while the exterior is crispy and the filling is warm and gooey.
- Pair with a side of marinara sauce for dipping, if desired.
Notes
- Chicken Options: This recipe is ideal for using leftover rotisserie chicken or meal-prepped chicken breast. For a time-saving shortcut, you can use canned chicken, though the texture won't be quite as good as freshly cooked.
- Tortilla Selection: Large burrito-size flour tortillas work best as they're sturdy enough to hold the filling without tearing. For a healthier option, whole wheat or spinach tortillas can be substituted.
- Make It Ahead: The chicken and cheese mixture can be prepared up to 2 days in advance and stored in the refrigerator. Bring it to room temperature for about 15 minutes before assembling the wraps for easier spreading.
- Vegetarian Adaptation: Replace the chicken with 2 cups of sautéed mushrooms, chopped artichoke hearts, or plant-based chicken substitute for a vegetarian version.
- Crispier Texture: For an even crispier exterior, lightly brush the outside of the wrap with olive oil or melted butter before cooking.
- Serving Suggestions: These wraps pair perfectly with a simple green salad, tomato soup, or sweet potato fries for a complete meal.
- Freezing Instructions: Assembled (but uncooked) wraps can be frozen for up to 3 months. Wrap individually in parchment paper, then foil, and place in a freezer bag. Thaw in the refrigerator overnight before cooking.
- Air Fryer Method: These wraps can also be cooked in an air fryer at 375°F for 5-7 minutes, flipping halfway through, for an even crispier result with less oil.