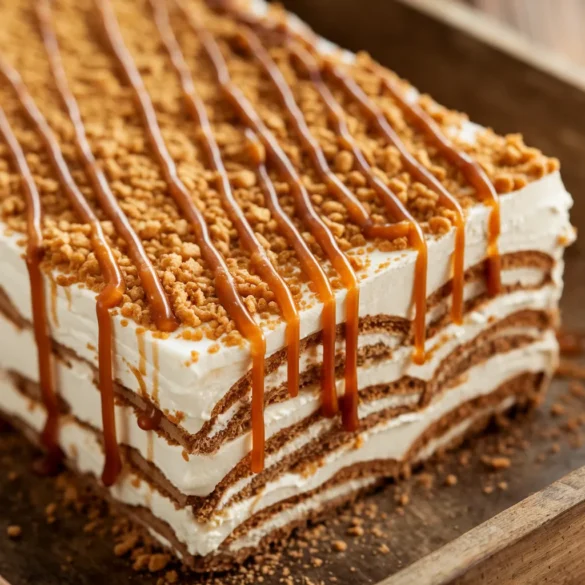
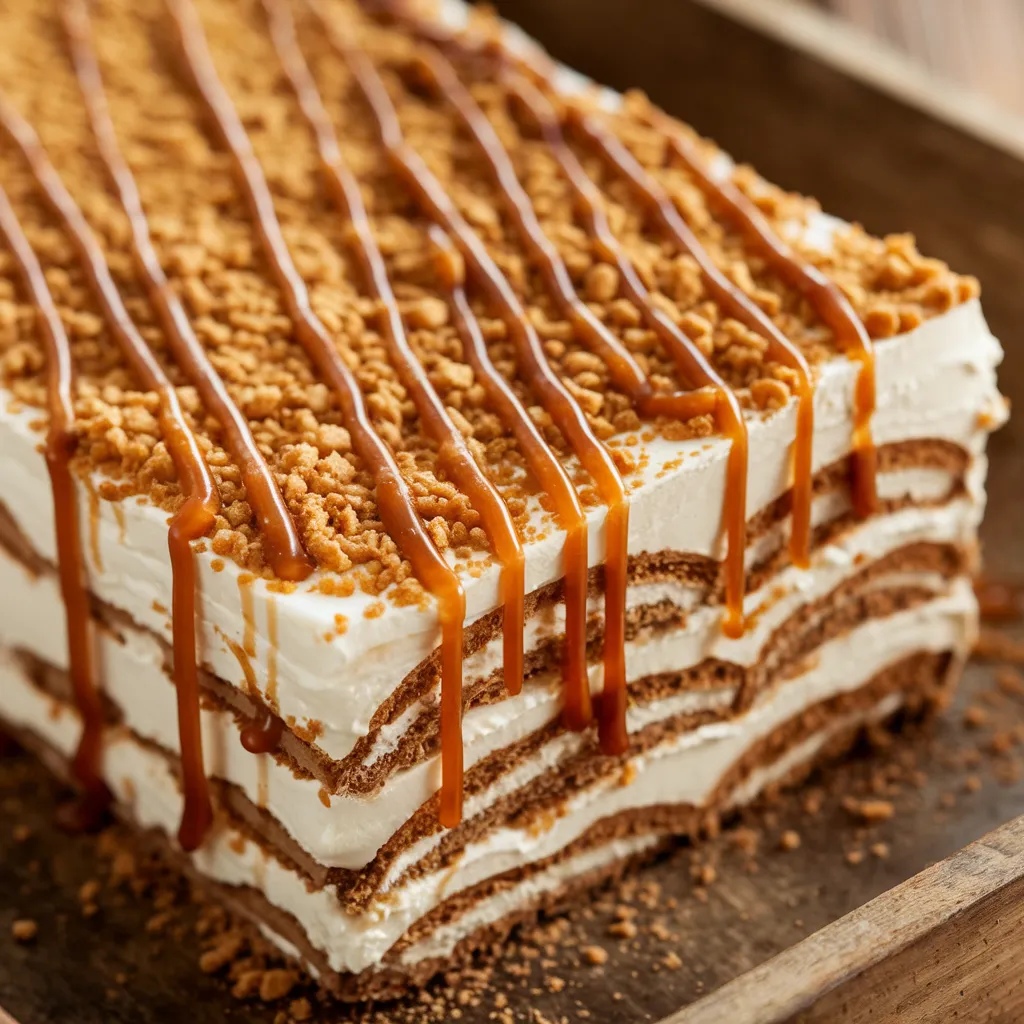
Ever wanted a dessert that mixes the deep flavors of tiramisu with the crunchy Lotus Biscoff cookies? Your journey to a Biscoff Tiramisu starts here. It’s a modern twist on the classic Italian dessert, blending coffee notes and creamy texture with Biscoff’s caramelized taste.
Picture making a rich biscoff dessert that’s no-bake and easy. This recipe is perfect for both experienced bakers and beginners. It promises to wow your loved ones with its sophisticated yet easy charm. Prepare for a dessert adventure that’s both familiar and thrillingly new.
Table of Contents
Key Takeaways
- No-bake recipe perfect for home cooks of all skill levels
- Combines classic tiramisu techniques with Biscoff cookie flavors
- Quick and easy dessert that can be prepared in advance
- Uses readily available ingredients from your local grocery store
- Offers a unique twist on traditional Italian dessert recipes
- Suitable for both casual and special occasion gatherings
Essential Ingredients and Equipment for Biscoff Tiramisu
Making the perfect coffee-flavored dessert needs the right ingredients and tools. This layered cream dessert needs quality parts to be true to the Italian tiramisu recipe.

Key Ingredients
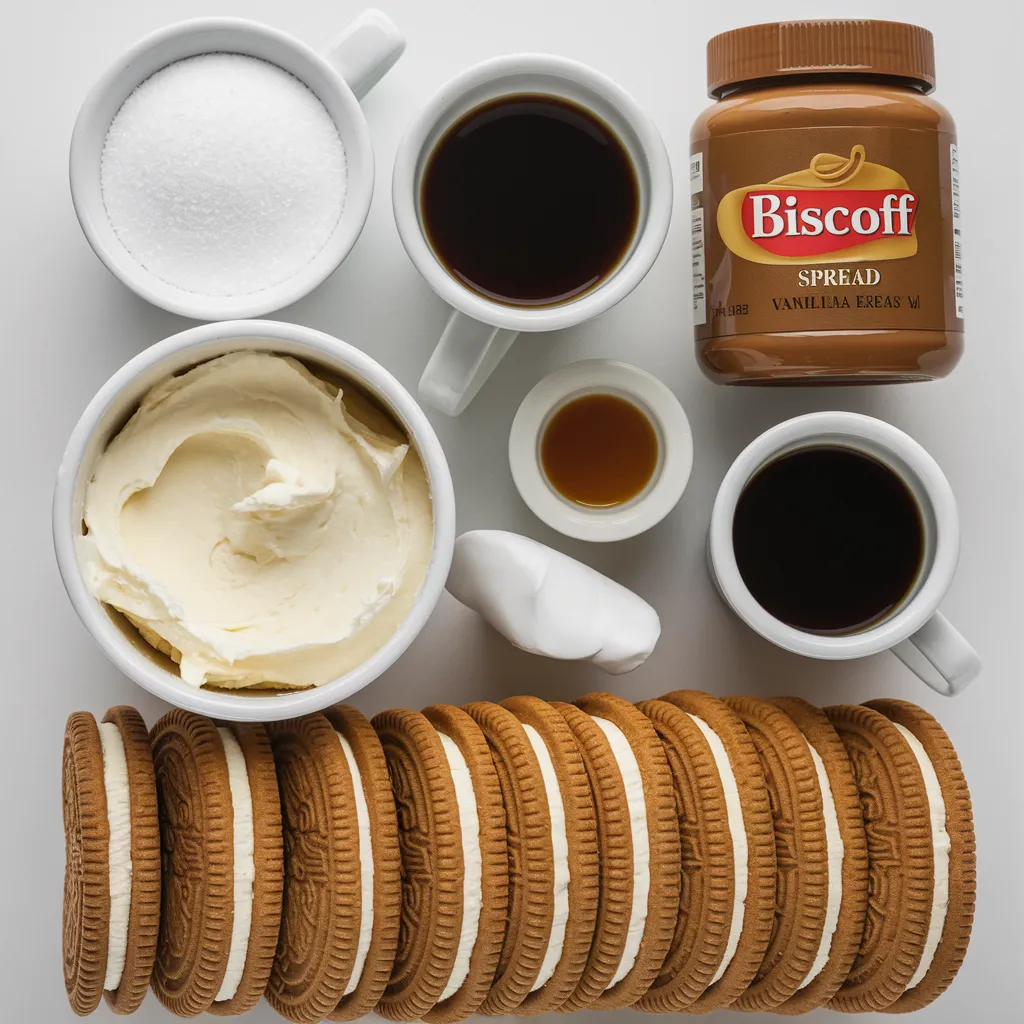
- Lotus Biscoff cookies (authentic brand preferred)
- Mascarpone cheese (high-fat content)
- Heavy whipping cream
- Strong brewed espresso or coffee
- Granulated sugar
- Vanilla extract
Choosing top-notch ingredients is key for a great Biscoff Tiramisu. Mascarpone cheese makes it creamy, and Biscoff cookies add a special caramelized taste.
Essential Equipment
| Equipment | Purpose |
|---|---|
| Electric mixer | Whipping cream and creating smooth cream layers |
| 9×13 inch baking dish | Perfect size for layering dessert |
| Mixing bowls | Preparing different components |
| Sifter | Dusting cocoa powder on top |
Professional bakers say to use room temperature ingredients for the best mix and texture. Paying attention to ingredient quality makes this Italian dessert go from good to amazing.
Ingredient Quality Tips
- Use freshly brewed espresso for intense coffee flavor
- Select full-fat mascarpone for creamiest results
- Choose authentic Lotus Biscoff cookies
- Opt for pure vanilla extract
Making this coffee-flavored dessert needs passion and care. With the right ingredients and tools, you’ll make a layered cream dessert that wows everyone.
Step-by-Step Preparation Guide for Biscoff Tiramisu
Making a no-bake tiramisu with Biscoff spread is simple. This creamy version adds a twist to the classic Italian dessert. It combines rich coffee with the taste of Biscoff cookies.
Preparing the Coffee Mixture
Begin by brewing a strong coffee. This will be the base of your Biscoff spread dessert. Here’s how:
- Brew freshly ground espresso or strong coffee
- Let the coffee cool to room temperature
- Add a splash of coffee liqueur for extra depth (optional)
Making the Creamy Tiramisu Layer
The cream layer is the heart of your no-bake tiramisu. You’ll want to make a smooth, luxurious mix that goes well with Biscoff cookies:
- Whip mascarpone cheese until smooth
- Gently fold in Biscoff spread for a rich, caramelized flavor
- Whip heavy cream until stiff peaks form
- Carefully fold whipped cream into the mascarpone mixture
Assembly Instructions
Layering is key to a stunning and delicious Biscoff tiramisu:
- Quickly dip Biscoff cookies into the cooled coffee
- Arrange a single layer of soaked cookies in your serving dish
- Spread a generous layer of the Biscoff cream mixture
- Repeat layers until your dish is full
- Pro tip: Dust the top with crushed Biscoff cookies for extra crunch
“The secret to a perfect no-bake tiramisu is in the layers and letting it chill thoroughly.” – Dessert Experts
Refrigerate your Biscoff tiramisu for at least 4 hours, or overnight. This lets the flavors meld and the texture become creamy.
Tips for Perfect Biscoff Tiramisu and Serving Recommendations
Making a decadent tiramisu is more than just a recipe. It’s about the details that turn a simple dessert into a masterpiece. With these tips, your Italian tiramisu can become a standout dish.
Best Storage Practices
Keeping your tiramisu fresh is key. Here’s how to do it right:
- Refrigerate it right after you make it
- Use plastic wrap to keep it moist-free
- Enjoy it within 3-4 days for the best taste
Store it in an airtight container. This keeps the layers intact and prevents flavors from mixing with other fridge items.
Stunning Presentation Ideas
Make your biscoff dessert pop with these ideas:
- Dust with cocoa powder for a rich look
- Add chocolate shavings or crushed Biscoff cookies for extra flair
- Use individual glasses for a fancy presentation
Serving Temperature Guidelines
| Stage | Temperature | Recommended Duration |
|---|---|---|
| Refrigeration | 35-40°F | 4-6 hours before serving |
| Serving | 40-45°F | 15-20 minutes out of refrigerator |
Pro tip: Let your tiramisu warm up for 10-15 minutes before serving. This makes the flavors richer and the texture softer, for a more indulgent treat.
Variations and Conclusion
Your speculoos tiramisu adventure doesn’t end with the classic recipe. Get creative by exploring exciting variations. You can add dark chocolate shavings for a rich twist or fresh berries for a tangy contrast.
Dietary restrictions won’t stop you from enjoying this layered cream dessert. Gluten-free bakers can swap traditional Biscoff cookies for gluten-free alternatives. Those avoiding dairy can use coconut cream or plant-based mascarpone substitutes. Vegan friends can use silken tofu-based cream layers to maintain the dessert’s smooth texture.
The beauty of this Biscoff tiramisu lies in its simplicity and adaptability. Whether you’re a seasoned baker or a kitchen novice, this no-bake dessert offers a delightful canvas for culinary creativity. Invite friends to taste your unique version, share your creations on social media, and join a community of dessert enthusiasts who appreciate innovative twists on classic recipes.
Remember, cooking is about exploration and joy. Your homemade Biscoff tiramisu represents more than just a dessert—it’s a delicious expression of your personal cooking style. Embrace the process, experiment boldly, and savor every creamy, cookie-filled bite.
FAQ
What is Biscoff Tiramisu?
Biscoff Tiramisu is a tasty twist on the classic Italian dessert. It uses Lotus Biscoff cookies and spread instead of ladyfingers. This no-bake treat combines the caramel flavor of Biscoff with a creamy mascarpone mix. It’s easy to make and incredibly tasty.
Can I make Biscoff Tiramisu ahead of time?
Yes, you can make Biscoff Tiramisu ahead of time. It’s perfect for making 2-3 days before you need it. Letting it sit in the fridge allows the flavors to blend better. Just remember to keep it covered and chilled until serving.
Is this recipe suitable for people with dietary restrictions?
The traditional recipe has dairy and gluten. But, you can make it work for different diets. For gluten-free, use gluten-free Biscoff cookies. For dairy-free, use coconut cream or a dairy-free cream cheese. Always check the ingredients to meet your dietary needs.
How long does Biscoff Tiramisu last in the refrigerator?
Biscoff Tiramisu can last 3-4 days in the fridge if stored right. It might get softer, but the taste stays great. For the best taste, eat it within 2-3 days.
Can I freeze Biscoff Tiramisu?
Freezing Biscoff Tiramisu is possible but not the best choice. The creamy texture might get grainy or separated when thawed. If you freeze it, wrap it well and thaw in the fridge. Eat it within 1-2 weeks for the best quality.
What type of coffee works best for this recipe?
Espresso is the top choice for Biscoff Tiramisu. If you don’t have an espresso machine, strong brewed coffee or instant espresso powder works too. Use a rich, strong coffee to match the Biscoff’s caramel flavor. Let the coffee cool before using it.
Can I make a non-alcoholic version of this dessert?
Yes, you can make a non-alcoholic version. Just skip the liqueur and add vanilla extract or coffee syrup for flavor. It’s delicious and safe for all ages.
What can I use if I can’t find Biscoff spread?
If Biscoff spread is hard to find, use speculoos spread or make a mix with crushed Biscoff cookies and cream or butter. You can also try creamy peanut butter or cookie butter, but the taste will be different.

Ingredients
For the Cream Layer:
- 8 oz (225g) mascarpone cheese
- 1 cup heavy whipping cream
- ¼ cup powdered sugar
- 1 tsp vanilla extract
For the Coffee Mixture:
- 1 cup brewed espresso or strong coffee, cooled
- 2 tbsp Biscoff spread, melted
- 1 tbsp brown sugar (optional)
For the Layers:
- 24 Lotus Biscoff biscuits (approx.)
- ½ cup Biscoff spread, melted
- ½ cup crushed Biscoff cookies (for topping)
Instructions
-
Prepare the Cream: In a large bowl, beat mascarpone, powdered sugar, and vanilla until smooth. In a separate bowl, whip heavy cream until stiff peaks form. Fold the whipped cream into the mascarpone mixture until combined.
-
Make the Coffee Mixture: Mix the brewed espresso with melted Biscoff spread and brown sugar. Stir well.
-
Assemble the Tiramisu:
- Dip each Biscoff biscuit quickly into the coffee mixture and layer them in an 8x8 dish.
- Spread half of the mascarpone cream evenly over the cookies.
- Drizzle some melted Biscoff spread over the cream.
- Repeat with another layer of dipped Biscoff biscuits and the remaining cream.
-
Top & Chill: Spread the remaining melted Biscoff over the top and sprinkle crushed Biscoff cookies for crunch. Cover and refrigerate for at least 4 hours (preferably overnight).
-
Serve & Enjoy: Slice and serve chilled for the perfect creamy, cookie-infused dessert!
Notes
- For a crunchier texture: Serve immediately after chilling.
- Want it extra indulgent? Add a caramel drizzle before serving.
- Storage: Keeps well in the fridge for 3-4 days.

